


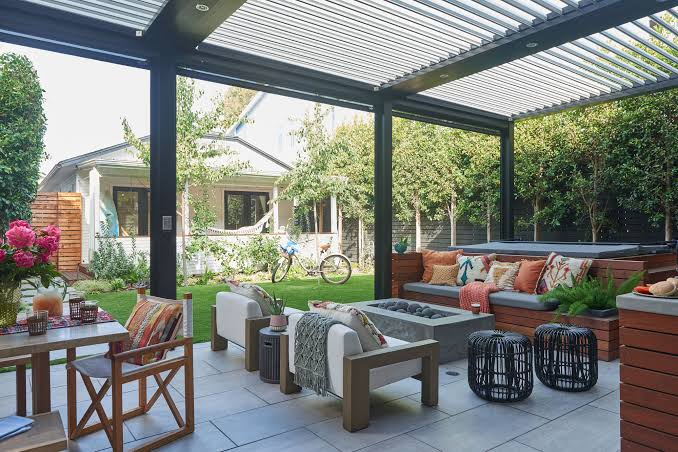
Most homeowners start with the pergola and work backwards. They pick a size they like, place an order, and only then discover the sun moves out of it by mid-afternoon, that the roof sheds water onto the back door, or that the opening they wanted leaves the header sagging. None of those problems are expensive to avoid. They are just expensive to fix after the footings are poured.
Here is the order that saves money: the site, the measurements, the roof, the frame, then the paperwork.
Start with the sun, not the frame
Walk out to the patio three times on a clear day — mid-morning, early afternoon, and an hour before sunset — and note where the shade actually falls, not where you assume it falls. Then do it again in the opposite season. A west-facing patio is a different project from a south-facing one: it takes punishing late-afternoon sun in summer and almost none in winter. That difference is exactly why adjustable roofs outsell fixed slats in hot, sunny regions.
Also decide what the space is *for* before you size it. A dining table for six wants a deep footprint and a roof you can close. A lounge chair for two is fine under dappled slats. If your goal is “useful in April and October, not just July,” you want to be able to change the roof angle — not just block sun in one fixed pattern.
Four measurements that decide everything
- Clear span. The longest unsupported opening between posts. This drives the frame profile and it is the single most common thing people get wrong. Write down the number you actually need, not the size of the kit that’s on sale.
- Height and clearances. Check where the roof line lands against second-floor windows, whether any door still swings freely, and how the structure sits against the fascia if it attaches to the house.
- Setback from the property line. Local rules vary widely, and this one cancels projects after the deposit is paid.
- Where the water goes. Drainage has to fall *away* from the wall. On a flat patio, that usually means channeling water through the louvered roof and down through the posts onto a defined discharge point. Ask specifically how water leaves the roof — not just whether it does.
Roof options, compared honestly
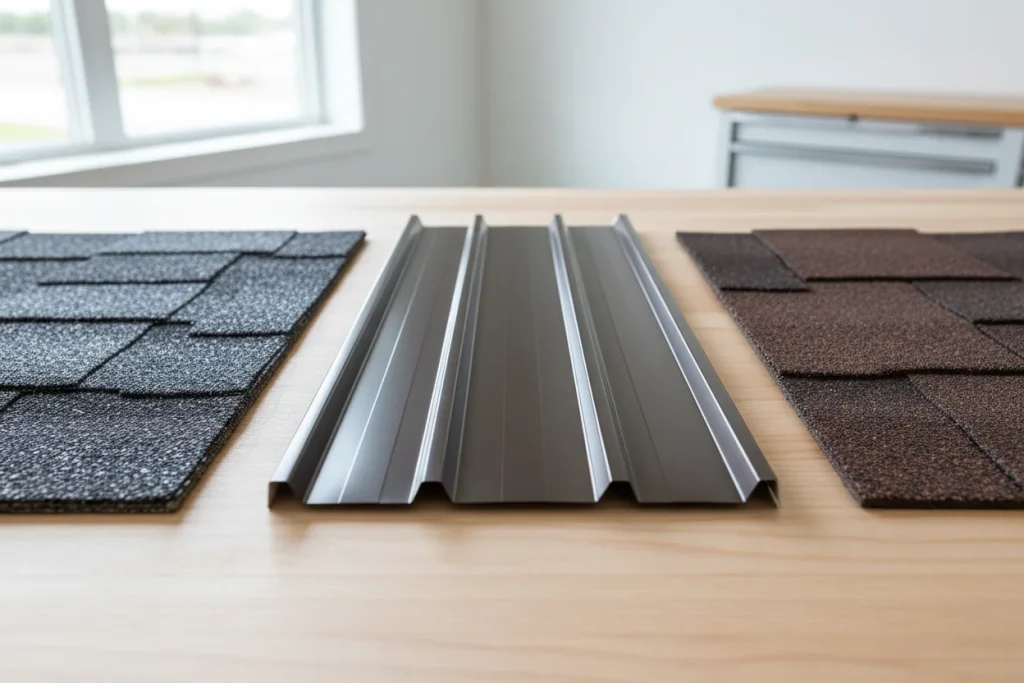
Fixed slats or lattice are the cheapest and give pleasant dappled light, but rain passes straight through, shade angle never changes, and the space can feel gloomy in winter.
Retractable fabric is good value and forgiving on irregular footprints, but the fabric is a wear item. Plan on replacement, not just installation.
Louvered roofs let you open for sun or close for rain and near-total cover, which is why they dominate high-use outdoor kitchens. The trade-off is cost and installation complexity, and *the drainage is the whole point* — check how the louvers channel into the posts and where the discharge sits relative to your patio surface.
Glass looks superb and stays bright, but it is heavy, needs a structure designed for it, and is unforgiving about water and cleaning.
Aluminum versus wood: do the upkeep math over ten years
Wood is beautiful and easier to modify on site, but it moves. Expect refinishing every two to three years, plus watchfulness about insects and rot wherever the posts meet soil or concrete. Ten years of stain and repair usually costs more than the wood you saved.
Powder-coated aluminum does not carry a repaint cycle. When you compare aluminum pergola kits, don’t stop at color. Ask about the alloy and wall thickness of the posts and beams, how the coating was applied, and whether the fasteners are stainless. A lighter-gauge frame with a pretty finish will flex in wind; the specification matters more than the photograph.
Wind, snow, and the permit question
Most outdoor structure failures are anchoring failures, not frame failures. What matters is how the posts connect to a proper concrete footing or to structural deck framing — not whether they were screwed into the surface of a slab. Discuss the fixing detail before you buy, not on install day. For local snow and wind requirements, work from your area’s ground snow load and have someone run a span, wind, and snow-load check against the size you have in mind, especially if the roof must be closed through winter.
Then call the building department. Many jurisdictions treat a roofed structure as an accessory building, and an attached roof often triggers additional review. A ten-minute phone call is cheaper than a stop-work order, and some areas require the manufacturer’s engineering documentation with the application.
What it actually costs — and what’s not in the price
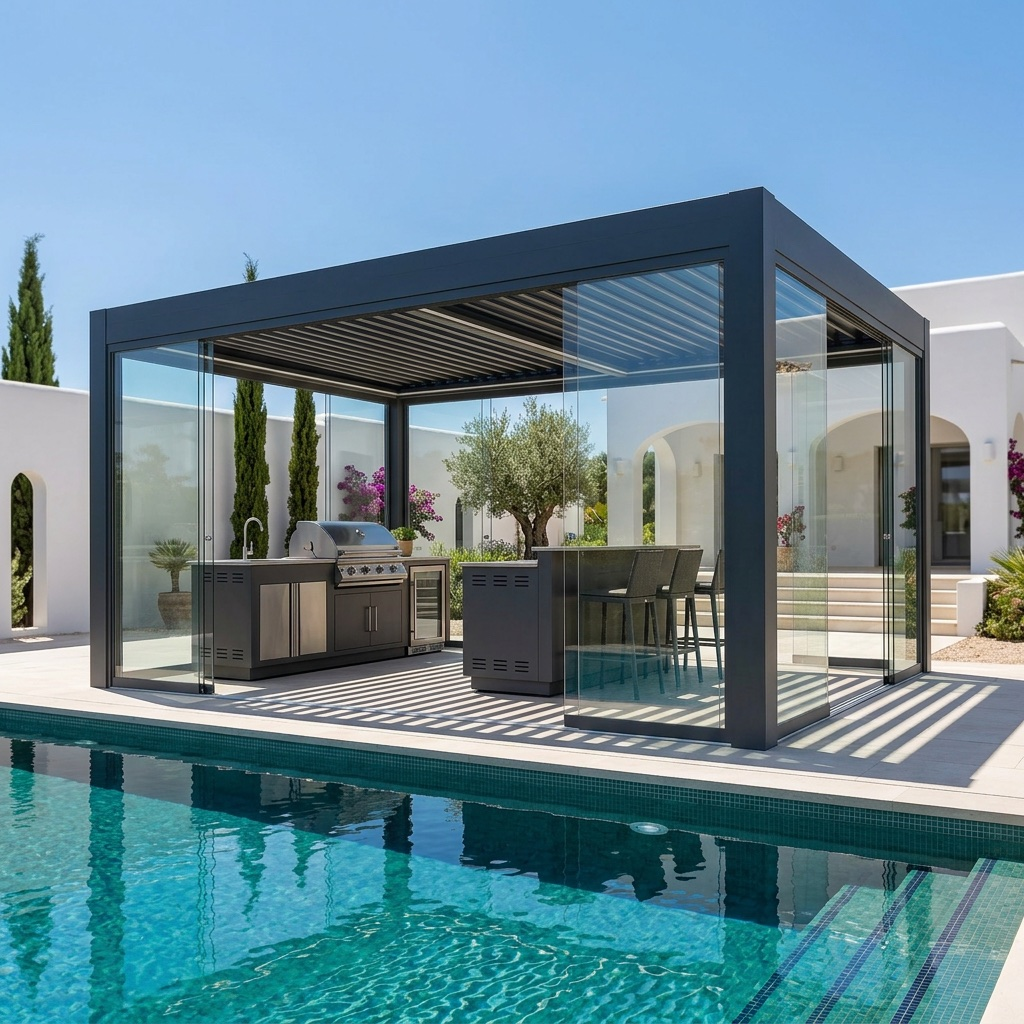
The kit price is not the project price. Budget separately for freight and unloading at the curb, any duties, footings and concrete, a contractor’s day rate if you are not installing it yourself, the permit fee, and low-voltage electrical if you want lighting in the frame. Lighting is worth planning early: run the conduit before the patio surface is finished, or you will be looking at surface-mounted cable for the next decade. For a realistic line-by-line breakdown, this guide to what a pergola costs separates the structure from the site work.
Installation day: prepare these three things
Two people minimum for anything beyond a small residential kit. Lay out the footprint and check the diagonals — equal diagonals mean square, and square is what keeps the louvers working years later. Stage the components in the order you will assemble them, and plumb each post in two directions before you tighten anything down.
The short version
Track the sun before you shop. Size for the span you need. Choose a roof you can change with the season. Compare frame specifications, not swatches. Have the anchor detail and the local load requirements settled before the order. Do that, and a backyard structure becomes an outdoor room; skip it, and it becomes a very expensive sunroom that you can’t use in the rain.
*If you would rather not assemble a specification from scratch, Max Pergola publishes its frame profile data and ships factory-direct kits in configurable footprints — a reasonable starting point for comparing any quote you receive.*
