Interior painting is one of the most effective ways to refresh and enhance your living space. Whether you’re planning to boost your home’s resale value or simply want to enjoy a clean, updated look, a professional interior paint job can dramatically transform any room. For homeowners in Cape Cod, working with experts like Hyannis Painting ensures your project is handled with care and precision from the start.
In this guide, we’ll walk you through how to prepare your home for an interior painting job. These tips apply whether you’re painting a single room or your entire home. With the right preparation, you’ll not only protect your belongings but also help your painting professionals work more efficiently—delivering the best possible results.
Why Proper Preparation Matters
Proper preparation lays the foundation for a flawless paint finish. Without it, even the highest-quality paints and most skilled painters can struggle to achieve consistent, long-lasting resus. Here’s why prep is essential:
Saves time and money: Clear access and protected surfaces reduce delays and potential damage.
Ensures safety: Removing clutter and breakables helps prevent accidents.
Improves quality: Clean, repaired walls allow the paint to adhere smoothly and evenly.
Preserves belongings: Furniture, flooring, and decor are protected from paint splatter and dust.
Step 1: Communicate With Your Painting Contractor
Before any work begins, speak with your painting contractor to understand what they’ll handle and what they expect you to do. Some companies offer full-service prep, while others may ask you to take certain steps yourself. Open communication helps avoid misunderstandings and ensures the project runs efficiently.
Step 2: Declutter the Room
Start by removing as many items from the room as possible. This includes:
Decorative items (frames, vases, wall art)
Curtains and blinds
Area rugs
Small furniture pieces
Storing these items in another room or a temporary storage area will keep them safe and give painters room to work freely.
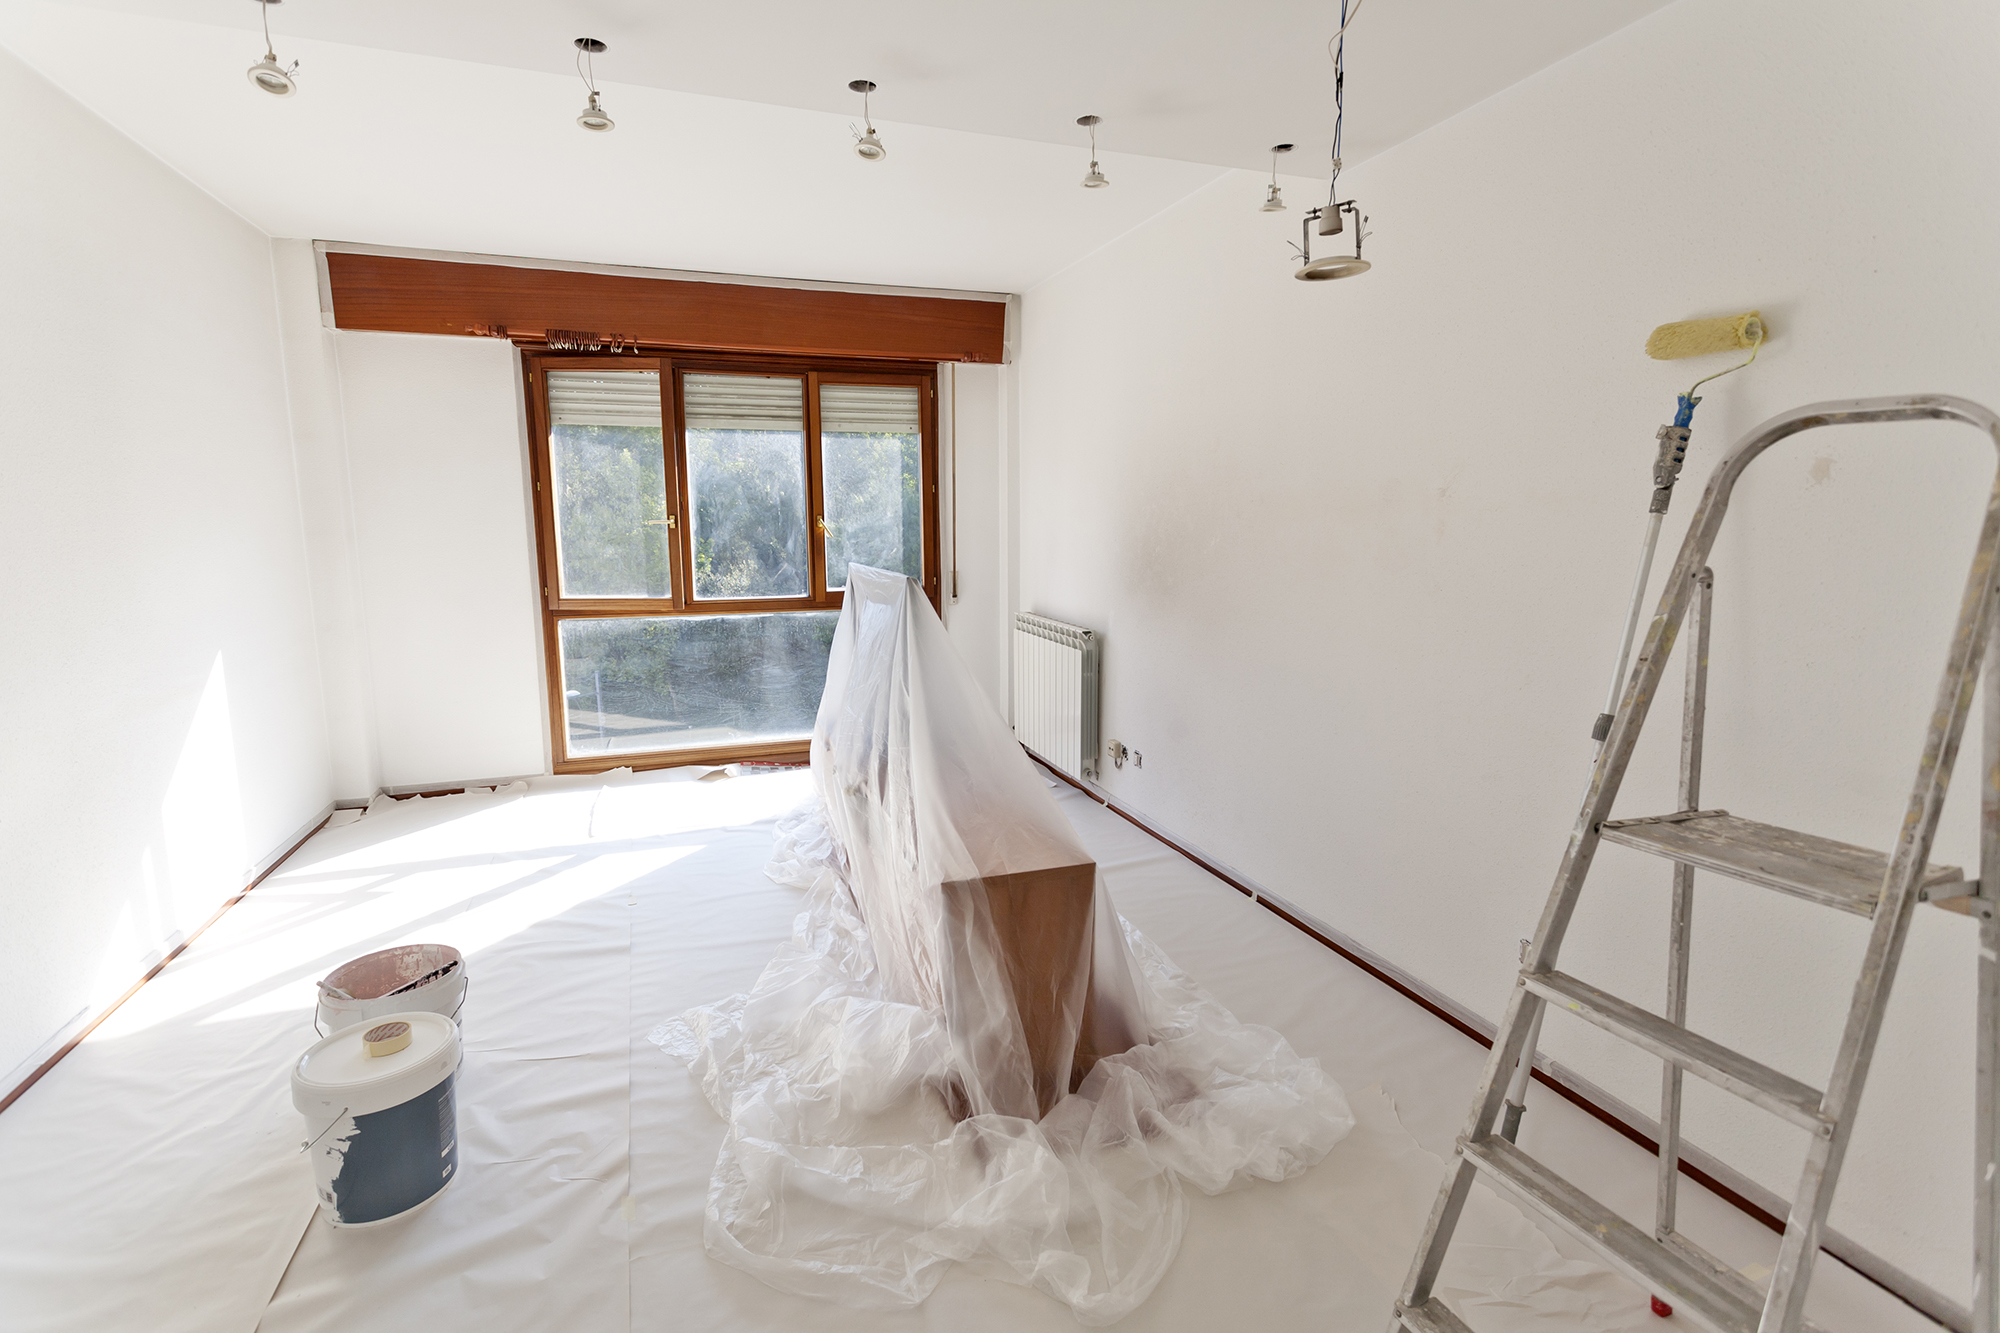
If some furniture is too large or heavy to move, gather it toward the center of the room and cover it with plastic sheeting or drop cloths. This creates open wall space and protects your furnishings from dust and paint.
Step 3: Take Down Wall Hangings and Fixtures
Remove all wall-mounted decor, including:
Paintings and mirrors
Shelves
Wall clocks
Light switch and outlet covers
Store these carefully, labeling the hardware to make reinstallation easier. For items that can’t be removed (like built-in shelves or light fixtures), ask your painter if they’ll be masked off or if you should take extra steps to protect them.
Step 4: Clean the Walls
Even if your walls look clean, they likely have dust, grease, or fingerprints that can affect paint adhesion. Use a mild soap and water solution or a wall-cleaning product to gently wipe down the surfaces. Pay special attention to areas near:
Kitchens (grease buildup)
Bathrooms (moisture and soap residue)
Light switches (fingerprints and grime)
Let the walls dry completely before the painters begin their work.
Step 5: Repair Minor Damage
Before painting starts, inspect the walls for:
Nail hole
Small cracks
Dents or dings
Old adhesive residue
These imperfections should be patched, sanded, and smoothed out to create an even surface. Some painting companies include minor repairs in their service, while others may require you to handle them in advance.
Step 6: Protect Your Floors
Paint drips are inevitable, even with the most skilled professionals. To prevent damage to flooring, be sure that all surfaces are well protected with:
Plastic sheeting for carpets
Rosin paper or canvas drop cloths for hardwood or tile
Painter’s tape to secure coverings in placAsk your contractor what type of protection they provide. Most reputable painters will bring their own drop cloths and coverings, but it’s always good to clarify.
Step 7: Provide Ventilation and Access
Fresh air helps paint dry faster and minimizes exposure to fumes. If possible, open windows in the rooms being painted. Make sure your HVAC system is set to circulate air without interfering with the painters’ work.
Additionally, clear pathways from your front or back door to the work area so the team can easily bring in supplies and equipment. Move fragile items and rugs from hallways to avoid accidents.
Step 8: Make Arrangements for Kids and Pets
Children and pets should be kept out of painting areas for their safety and the painters’ convenience. Paint fumes, equipment, and open containers can pose hazards, especially for curious little ones or energetic pets.
If you’re planning a multi-day project, you might want to temporarily relocate to another part of the house—or even arrange a short stay with family or friends.
Step 9: Plan for Drying and Curing Time
After the paint is applied, it needs time to dry and cure. Even if the walls feel dry to the touch within a few hours, full curing may take several days. During this period
Avoid hanging items back on the walls
Keep furniture slightly pulled away from painted surfaces
Maintain ventilation to help the paint set
Your painter will give you specific recommendations based on the type of paint used.
Step 10: Trust Local Professionals for Quality Results
Interior painting may seem like a simple DIY task, but achieving professional results requires skill, patience, and the right tools. Hiring an experienced team ensures long-lasting quality and saves you valuable time.
Whether you’re repainting a single room or refreshing your entire interior, it’s worth trusting a proven team like hyannispainting.com to deliver high-quality work with attention to detail every step of the way.


